Customizing the Graphical User Interface
Main GUI Components
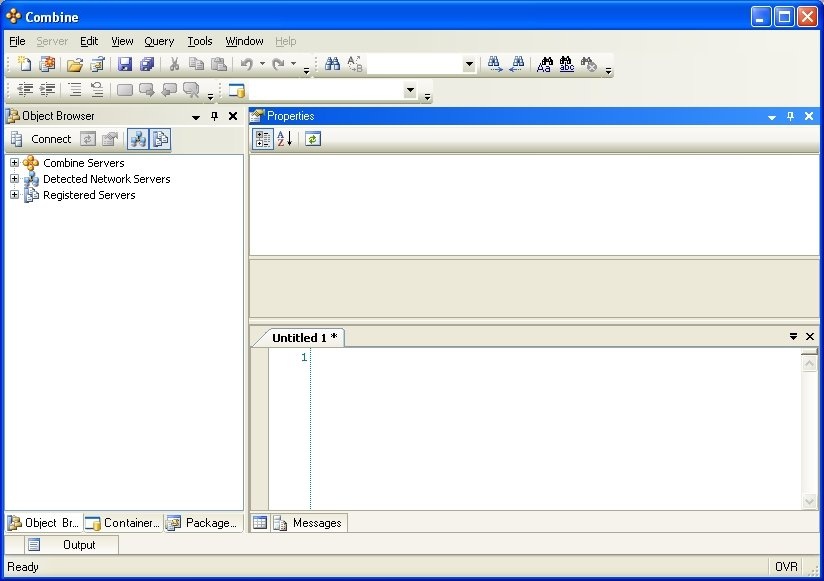
The windows of the Graphical User Interface (GUI) in Combine include:
4. Properties window
6. Package Results window
7. Package Output window
In order to increase the usability of Combine, the graphical interface and all windows included in it can be customized, moved around, docked and undocked, pinned, hidden, and so on.
Floating Windows
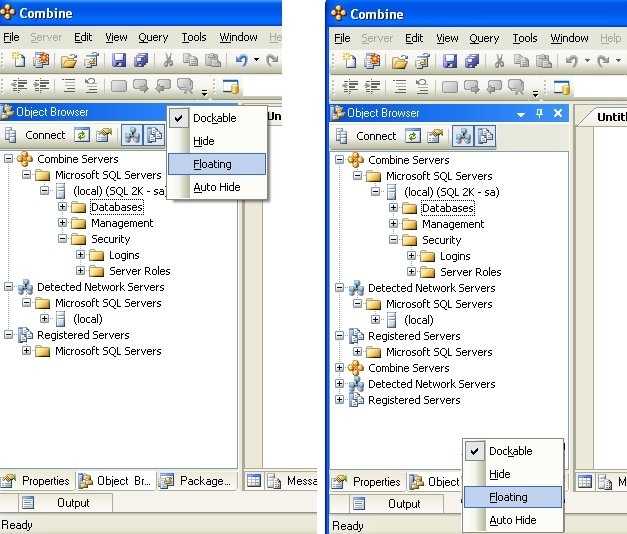
A window is referred to as a Floating Window if it can be moved around freely without depending on other windows in the application. For example, in the figure below, the Object Browser window is floating.
To make window float, right-click the title bar of the window or the window tab and select the Floating option from the menu, as demonstrated in the figure below.
Once a window is floating you can return it to its original location by right-clicking the title bar of the floating window and un-checking the Floating checkmark. You can also place the floating window in other frames of the application. Please refer to the section Moving and Placing Windows for additional information.
Docking Windows
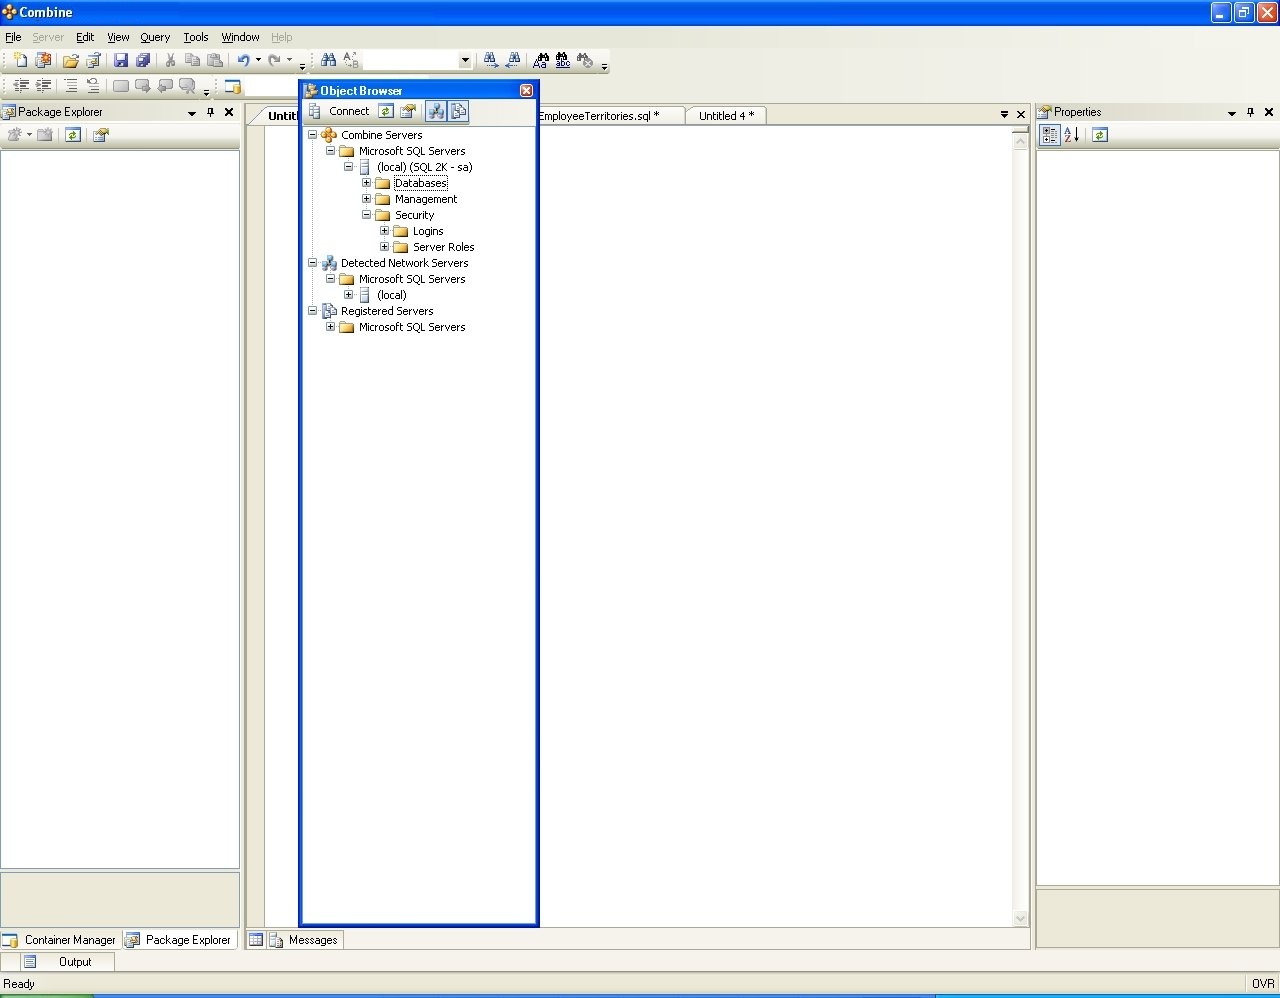
The term Dock reflects the frame in which the window is placed. The main editor portion where SQL code can be entered is not considered a Dock. Docking refers to the action of placing a window in a dock. Undocking means that a docked window will be moved to the main editor portion.
If you wish to undock a window, right-click the main toolbar of the and uncheck the Dockable checkmark.
Once is window is undocked, it will be placed in the main editor portion, as demonstrated in this figure.
Windows can be docked and returned to their original location by right-clicking the undocked window tab and selecting the Dockable menu option. You can also place an undocked window in another dock by moving and placing the window in another location.
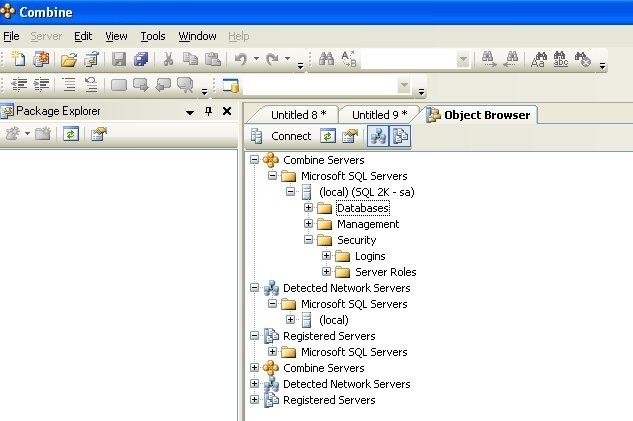
Auto-Hiding and Pinning Windows
A pinned window will be viewable at all times, in contrast to a auto-hidden window that will automatically appear when it is being used. When you click outside of the auto-hidden window it will disappear, and you can view it again by pressing the icon for that window.
Consider the following example that illustrates tabbing and auto-hiding. Pinned windows are those in which the pin icon is drawn vertically  . In the first figure, the Properties window is pinned. The Object Browser, Package Explorer, and Container Manager are tabbed windows and are pinned as well.
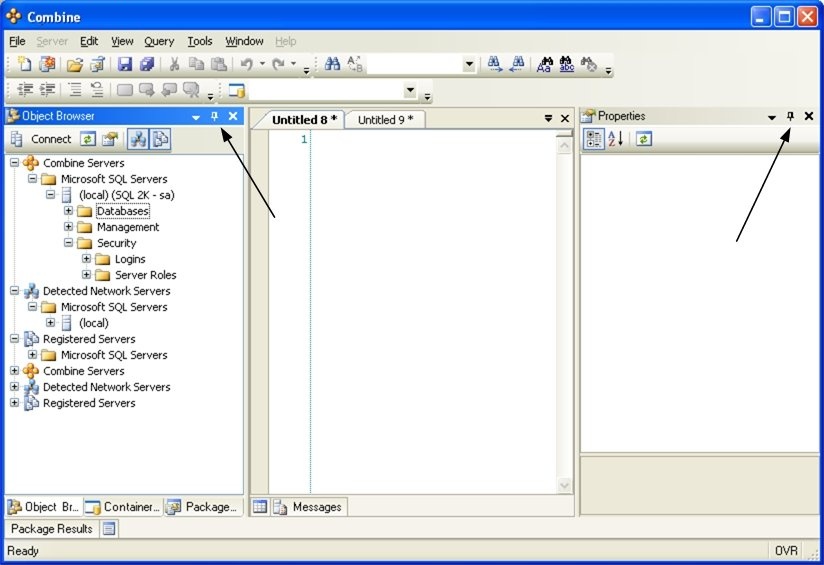
You can pin a window by pressing the pin icon in the main window toolbar (see the arrows in the last figure). Another way to pin a window it to right-click the toolbar and uncheck the Auto-hide option. On the other hand, if you wish to view a window only when it is being used then you can auto-hide it by pressing the pin icon again, or through the auto-hide menu option. When a form is auto-hidden you will notice that the pin icon at the window toolbar is displayed horizontally  .
.
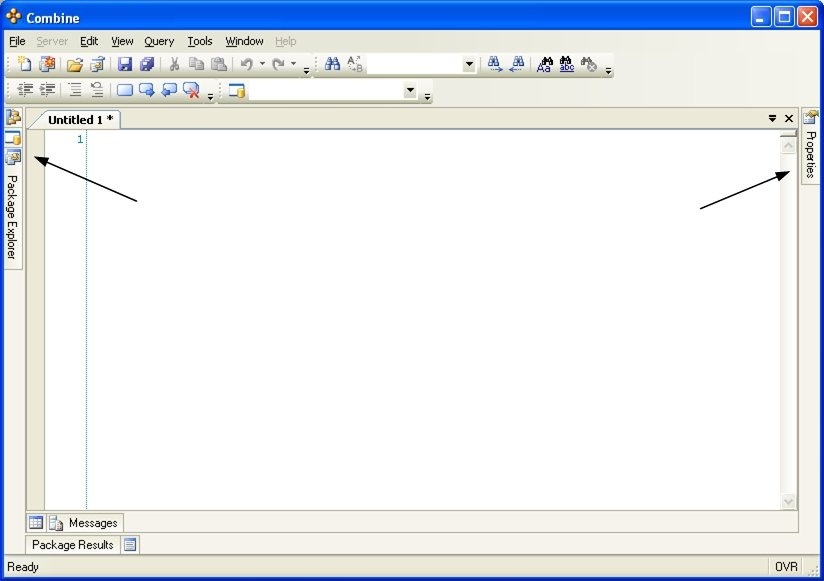
An icon will be created for each auto-hidden form, allowing you to access the form as needed. The form will appear each time you press the icon and will disappear once you click outside of the form. The figure below illustrates the case where the Properties window, Object Browser, Container Manager, and Packages Explorer windows are all auto-hidden.
Moving and Placing Windows
Windows can be moved throughout the interface and docked in different places. To move a window from its current location, drag the main window toolbar. Combine will then provide you with automated placement controls that will help you to place the window. For example, when you move the Properties window to the center of the interface you will receive the control images as in the figure below.
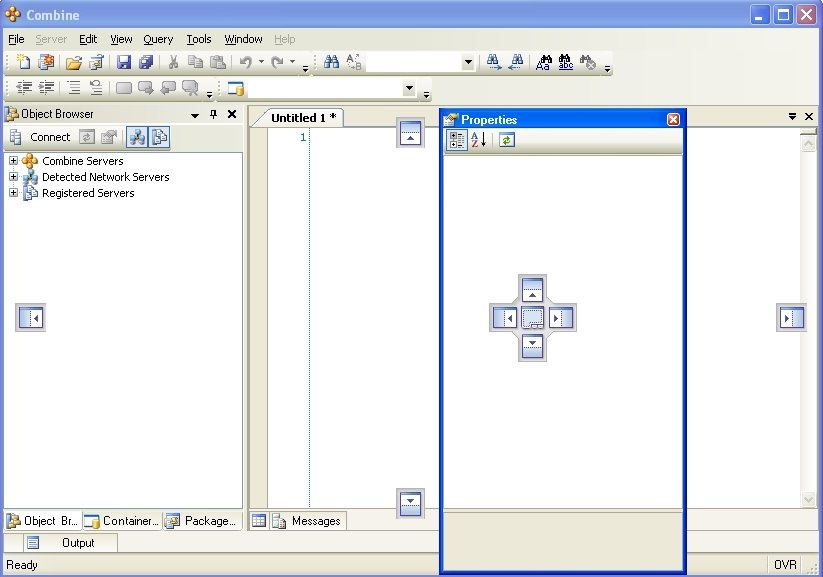
To use the automated controls, move the mouse over one of the arrowed icons, while still dragging the window toolbar. You will then be prompted with a blue background that reflects the new location of the form.

If you are satisfied with this location then drop the form; otherwise you can keep dragging it until you find the desired location. Following the example above, when dropping the Properties window in the location suggested in the last figure will yield the following display.